source("https://michael-weylandt.com/STA9750/load_helpers.R")
mp_submission_verify(3, "michaelweylandt")STA 9750 - Mini Projects
In lieu of traditional homework, STA 9750 has a series of mini-projects designed to achieve several interlocking goals:
- Improve your skills at data analysis
- Improve your ability to give feedback on data analysis work
- Seed a ‘portfolio’ of data science work you can demonstrate to potential employers
Each Mini-Project will be submitted via GitHub, an industry-standard code management platform, as both raw analysis code and as a HTML document hosted on GitHub pages.
After each Mini-Project is submitted, 2-4 peer reviewers will be assigned to give feedback and to give an approximate grade following an instructor provided rubric. This feedback will be submitted anonymously on Brightspace; see details below.
In order to ensure good peer feedback, the peer feedback will be evaluated by the instructor in a “meta-review” worth a small fraction of the overall grade.
If you believe your mini-project has received inaccurate peer feedback, please request a regrade from the instructor directly within 48 hours of the peer feedback deadline using the relevant form on Brightspace. No student-initiated requests for re-grading will be accepted after that time, though the instructor may re-grade the work during the meta-review stage.
CautionResponsible Peer Feedback
The anonymous peer feedback is an important part of the learning objectives of this course. Reading and writing code are both important, but distinct, skills. As working data analysts in large organizations, a significant fraction of your time will be spent reading and studying existing processes, with code written by other analysts. Even if you are working on a ‘greenfield’ project, you will have to re-read your own code someday, far after you originally wrote it.
Any attempt to interfere with the peer feedback process by pressuring or collaborating with classmates to achieve a different score will be considered a serious violation of the academic integrity expectations of this course.
Mini-Projects
Mini-Project #00: Course Set-Up
Due Dates:
- Released to Students: 2026-01-29
- Initial Submission: 2026-02-20 11:59pm ET
-
Peer Feedback:
- Peer Feedback Assigned: 2026-02-23
- Peer Feedback Due: 2026-03-01 11:59pm ET
In the ungraded Mini-Project #00, there is no data analysis required, but you will set up the basic web tooling used to submit projects #01 to #04.
Note that, even though ungraded, Mini-Project #00 must be completed before any other Mini-Projects can be submitted.
Mini-Project #01: Assessing the Impact of SFFA on Campus Diversity One-Year Later
Due Dates:
- Released to Students: 2026-02-20
- Initial Submission: 2026-03-13 11:59pm ET
-
Peer Feedback:
- Peer Feedback Assigned: 2026-03-16
- Peer Feedback Due: 2026-03-22 11:59pm ET
In Mini-Project #01, students will explore the demographics of students at US universities as reported in the Integrated Postsecondary Education Data System. Students will practice selecting rows and columns and aggregating data horizontally (across demographic groups, e.g., “all women”) and vertically (across all colleges in NYS) using dplyr tools. Additionally, they will practice presenting their data in well-formatted tables using the gt package. Their analysis will be used to assess the impact of the 2023 SFFA decision on college admissions practices to see if it is yet possible to identify demographic shifts in matriculated students at various institutions.
Mini-Project #02: How Do You Do ‘You Do You’?
Due Dates:
- Released to Students: 2026-03-13
- Initial Submission: 2026-04-03 11:59pm ET
-
Peer Feedback:
- Peer Feedback Assigned: 2026-04-06
- Peer Feedback Due: 2026-04-12 11:59pm ET
In Mini-Project #02, students will explore the American Time Use Survey (ATUS) to see how Americans actually spend their time. Students will practice joining together data from different tables and visualizing their results using dplyr and ggplot2 tools. Their analysis will be used to perform market research and demographic targeting for a (hypothetical) new time management app.
Mini-Project #03: Who Goes There? US Internal Migration and Implications for Congressional Reapportionment
Due Dates:
- Released to Students: 2026-04-02
- Initial Submission: 2026-04-24 11:59pm ET
-
Peer Feedback:
- Peer Feedback Assigned: 2026-04-27
- Peer Feedback Due: 2026-05-03 11:59pm ET
In Mini-Project #03, students will use US Census Bureau estimates of state population and inter-state migration rates to forecast state populations in the year 2030. Using these estimates, students will determine the number of congressional seats apportioned to each state. Finally, using metro-to-metro migration flows, students will develop a targeted advertising strategy which aims to get more people to move to their state by 2030.
Mini-Project #04: Going for the Gold
Due Dates:
- Released to Students: 2026-04-23
- Initial Submission: 2026-05-15 11:59pm ET
-
Peer Feedback:
- Peer Feedback Assigned: 2026-05-18
- Peer Feedback Due: 2026-05-24 11:59pm ET
In Mini-Project #04, students will apply web-scraping techniques to acquire Olympic medal tables. Using this data, students will develop a forecast of Team USA’s performance at the upcoming LA 2028 Summer Olympics.
Mini-Project Submission
All Mini-Projects must be submitted in two formats:
- As a suitable HTML page hosted on the student’s course repository. (See Mini-Project #00 for details on setting this up.)
- As a PDF on the course Brightspace page.
Both submissions must be completed on time for the work to be considered properly submitted.
-
If the work is submitted on Brightspace by the deadline, but not on GitHub, the instructor will apply a 5-point penalty (10% deduction). Additionally, work not submitted on GitHub will not be eligible for peer review, but will instead by evaluated by the course staff. (Note that, historically, the instructor and TAs have been more stringent graders than student peers.)
GitHub submission will be confirmed when the instructor assigns peer feedback reviewers. The course helper functions include a script. to confirm that a GitHub submission has been properly formatted. You are encouraged to use it.
For example, if I wanted to confirm my MP03 was properly submitted, I would run:
Submissions that do not pass these automated checks will have a 5 point penalty applied.
If the work is submitted on GitHub, but not on Brightspace, the instructor will assign a 8 point (10%) penalty. Note that this will be applied by the instructor when loading grades into Brightspace; peer evalutors will not need to confirm correct Brightspace submission.
If the work is not submitted on time on either platform, the course late work policy applies and no credit will be given.
ImportantMini-Project Submission Grace Period
This semester, all Mini-Projects are officially due on Friday evenings. Recognizing that students have conflicts outside of classes, I am providing an automatic two day grace period (to Sunday evening) for all mini-project submissions. Per the late work policy, extensions beyond this grace period will only be provided under exceptional circumstances.
Note, however, I will not be necessarily be available to respond to student inquiries after the original (Friday) deadline. You are strongly encouraged to ask all questions and resolve all technology issues before the Friday deadline.
NB: If you submit during the grace period, but after the official Friday deadline, Brightspace will show a 0 automatically. This is just a temporary grade and a real grade (unpenalized) will be replaced when I upload grades for the whole class.1
Difficulty with the technologies used (Brightspace, quarto, GitHub, etc.) is not a recognized excuse for late submission.
Mini-Project Formatting
Each mini-project requires submission of at a minimum two files on GitHub:
- The
mp0N.qmdfile containing the source code of your submission. (ReplaceNwith the number of the mini-project; e.g.,mp04.qmdfor Mini-Project #04) This is required so that the instructor, TAs, and peer-evaluators can see your actual submission. In particular, if code does not execute properly or you submit an improperly renderedhtmlfile, this serves as a backstop for evaluation. - The
mp0N.htmlfile containing the rendered output of your submission. (ReplaceNwith the number of the mini-project; e.g.,mp04.htmlfor Mini-Project #04) This is what is primarily used for evaluation.
Note that MP#00 is different: in order to create a website, the home page must be called index.html, so the source file is index.qmd, not mp00.qmd.
Make Sure to Submit All Helper Files
For some projects, where you are asked to create data visualizations, you will need to ensure that other documents are also properly uploaded. In particular, data visualizations will be saved automatically by quarto as png files in your docs folder. These need to be included in your GitHub repository so that your website will render properly: if you omit these, you will get a “missing image” icon and empty box instead of the desired visualization. For other projects, you may need to ensure various css or js files are uploaded to ensure all components of your site work properly. You will not need to create or edit these files directly, but if you don’t have them, your page will not appear online as it does locally. As a general rule, you should git add, commit and push all files in the docs folder just to be safe. If you are not seeing something on your page that you observed locally, it is usually a sign that one of these files are missing.2
Code Folding
Because you are submitting a single document for both your input (qmd) and output (html), it can be a bit tricky to seamlessly integrate code and text. In particular, long chunks of code may ruin the flow of your text. Quarto’s code-folding functionality can help address this.
Code folding keeps the code on a page, but hides it behind a “click-to-display” <details> HTML element, by default labelled as Code. For example,
Code
# Example adopted from ?filled.contour
x <- 10*1:nrow(volcano)
y <- 10*1:ncol(volcano)
filled.contour(x, y, volcano,
    color.palette = function(n) hcl.colors(n, "terrain"),
    plot.title = title(main = "The Topography of Maunga Whau",
    xlab = "Meters North", ylab = "Meters West"),
    plot.axes = { axis(1, seq(100, 800, by = 100))
                  axis(2, seq(100, 600, by = 100)) },
    key.title = title(main = "Height\n(meters)"),
    key.axes = axis(4, seq(90, 190, by = 10)))  # maybe also asp = 1
mtext(paste("filled.contour(.) from", R.version.string),
      side = 1, line = 4, adj = 1, cex = .66)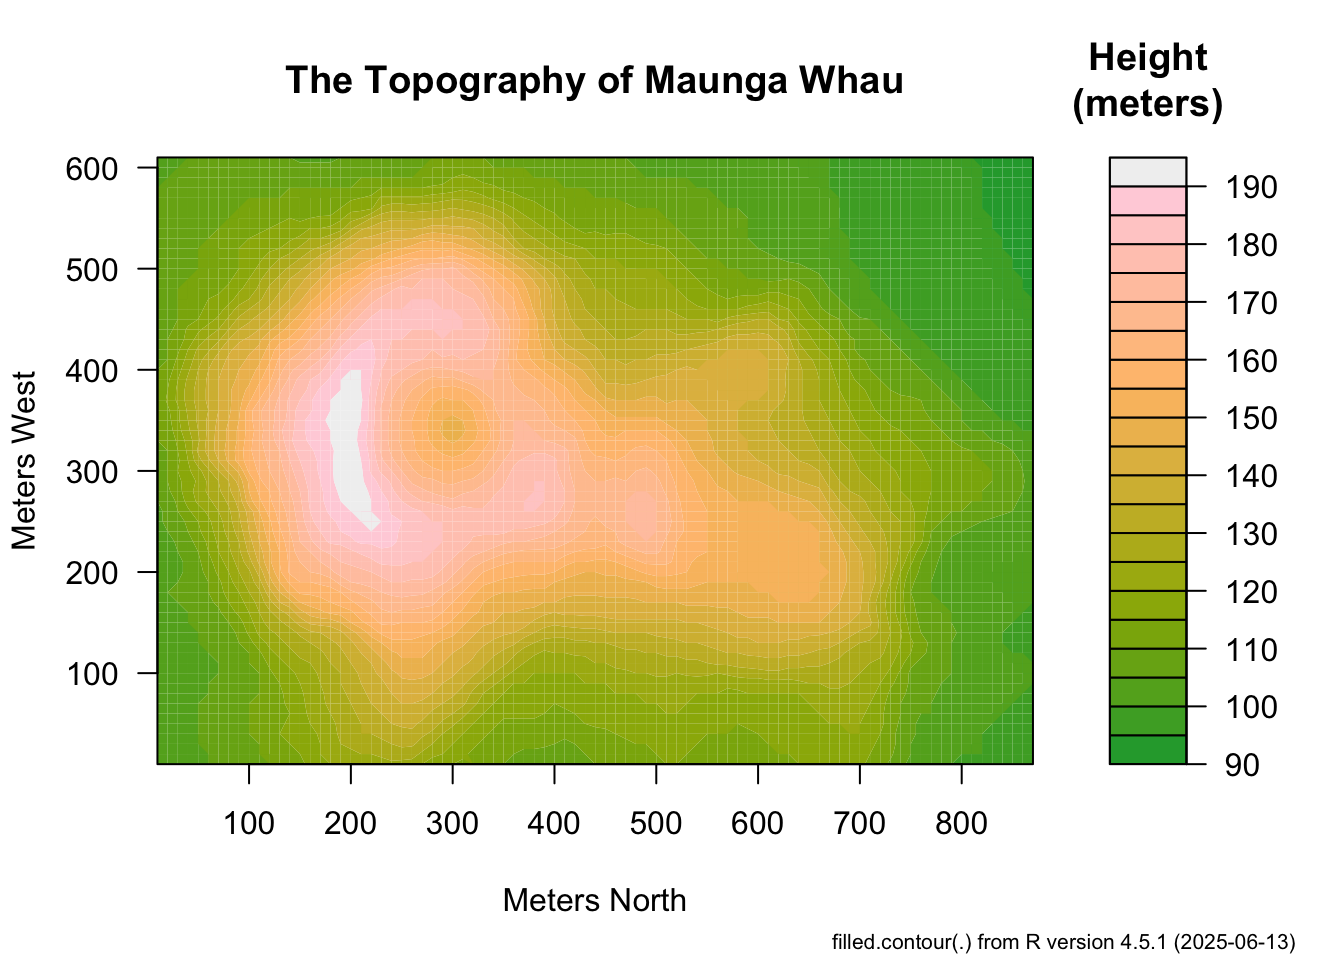
Above, by default, you see only the output (image) but the code is hidden unless someone wants to view it. It’s pretty easy to adopt code folding in your own qmd files. If you have a code block that looks like this:
```{r}
x <- c(1, 2, 3)
mean(x)
```
quarto will by default print both that code and its output. If you want that code to be foldable, you need to add an execution option to the top of the chunk. It will look like this:
```{r}
#| code-fold: true
x <- c(1, 2, 3)
mean(x)
```
Now, when you render this document, you will just get the output with a little “click to expand” thing hiding the code.
Two note about the syntax:
- The line has to literally start with
#|. There can’t be a space at the start of the line and there has to be one after the|(bar). - It also has to appear before any “actual code”, so generally it should be the first thing in a chunk.
The syntax for these sort of options is variable: value. You should recognize this from the _quarto.yml file in MP#00 which used a similar syntax. Here, code-fold defaults to false (no folding), so we set it to true to turn on folding.3
If you want to turn on code-folding for all blocks and change the default from true to false, add the following line to the header (lines between the ---) of your document:
code-fold: trueThis will set all code blocks to default turn on code-folding. If you want to disable code-folding for a particular block, add the execution option #| code-fold: false to override this new default.
While code folding is probably the most useful execution option, there are other options that you may occasionally find useful. The echo option looks like this:
```{r}
#| echo: false
x <- c(1, 2, 3)
mean(x)
```
By default, quarto will usually repeat your code back to you before printing the output. If you just want it to print the output, but no code, set echo to false and it won’t echo (repeat back) the code. I do this all the time in my notes where I want to compute something, e.g., a due date, and just print the result (the date), but I don’t want to include the code that calculates it as it would make my document less clear. When in doubt, you should default to include your code in your qmd document, so you might not use this too often.
The complement of the echo option is eval:
```{r}
#| eval: false
x <- c(1, 2, 3)
mean(x)
```
This will turn off evaluation (running) of the code: here, quarto will only print the code with nice formatting, but it won’t attempt to run it. You won’t use this much, but I use it all the time when trying to give examples of bad code.
There are many more but I’d say code-fold and echo are the main ones in this class.
Use of code-folding is not required, but it is strongly recommended.
Using the contents Shortcode
Often, when completing a mini-project, you will want to include text near the beginning of the document, such as an Executive Summary, Abstract, or Headline. The best versions of this introductory text will include the results of your analysis later in the document. In particular, if you are putting your code into a sort of ‘technical appendix’, almost all of the ‘main text’ will preceed any code. You can address this in two ways:
- Hard-code the results of your analysis in the intro text: i.e., run the code and copy the results into the intro text.
- Using the
quartocontentsshortcode.
A major advantage of using a tool like quarto is avoiding hardcoding values in the text, so I recommend exploring the contents shortcode. In brief, the contents shortcode lets you move the results of code to somewhere else in the document. This is a somewhat advanced trick and not required for this course, but it can be helpful if you are trying to put a high level of polish on your submissions.
Here’s an example:
---
title: "An example of the `contents` shortcode"
format: html
---

## Summary

My grandpa always said, {{< contents best_number >}}, but I also really like
{{< contents y_def >}} and I format it strangely because I am a scientist.

## I am using a Shortcode

`quarto` "shortcodes" can be used to do some magic when writing a document.
In this document we use the `contents` shortcode to move _output_ of code
above the actual code. The [official docs](https://quarto.org/docs/authoring/contents.html)
are not super clear, so hopefully this example helps.

## Much later in the document

You can see how we find the best number using a very advanced algorithm:

```{r}
compute_best_number <- function(){
    return(3)
}

x <- compute_best_number()

y <- x + 3
```

We will define some 'snippets' here, but they do not get printed here because
we instead move the output up earlier in the document.

[The very best number is `{r} x`]{#best_number}

[`{r} formatC(y, format="e", digits=2)`]{#y_def}
A few things to note here:
- Like always, the code runs top-to-bottom, so we have to define
xin the{r}chunk before using it. - Once we have defined
xandy, we then use inline code syntax to put them inside text. - The text is given an identifier using the
[text with inline code]{#id}syntax. This is almost the link syntax, but with curly braces instead of parenthesis and a mandatory#symbol. - We then move the named text snippets elsewhere in the document using the
{{< contents NAME >}}syntax. HereNAMEis the name you assigned to the snippet, i.e., the text after the#.NAMEs should only contain letters, numbers, and underscores. - You can use a snippet in multiple places: the code is only run once, but the results will be printed as many times as you use the
contentsshortcode.
When you render this document, quarto will first run the chunk to define x and y; then it will put them in inline text snippets; then it will move those snippets elsewhere in the document. That last step is something that does not happen with basic quarto usage.
As this example shows, a snippet may include text but it can also just be some inline code that will print a variable with the desired formatting.
Note that a snippet cannot be the only thing on a line. If you have a line which is only {{< contents NAME >}}, you will get a warning message that states: “This might happen because the shortcode is used in div context, while the id corresponds to a span. Removing from document.” It is possible to work around this, but it requires a different syntax. If you need to have contents alone on a line, typically because you want to move a code chunk, instead of inline code, a different syntax is required: contact the instructor for details.
Use of the contents shortcode is advanced and not required.
Mini-Project Peer Feedback
The peer feedback cycle is an important element of the STA 9750 learning goals. In particular, the peer feedback activities are used to help students learn to read code written by others and to compare and contrast alternative approach to the same analytic aims. As emphasized throughout this course, there is rarely a single right way to perform a particular piece of analysis, but there are better and worse; seeing a variety of approaches helps students experience a variety of approaches and begin developing a sense of elegance and efficiency in code.
Mini-Project peer feedback will be submitted in a “single-blind” fashion through Brightspace; that is, students will know who they are evaluating but they will not know who they are being evaluated by.
The instructor will post structured files giving the peer feedback assignments in the submission repository after the grace period ends. Once the assignment file has been posted for a mini-project, an instructor-provided script will be used to decrypt the assignment file and to walk through the structured peer feedback process. After finishing the peer feedback, a bspf file will be created. Upload this file to Brightspace in order to submit your peer feedback.
The instructor script can be accessed through the helper scripts as follows:
source("https://michael-weylandt.com/STA9750/load_helpers.R")
mp_pf_perform()
Note that this script is still new and may have some minor bugs. If you encounter any trouble please contact the instructor for support ASAP.
CautionPeer Grade Required for All Assigned Work
Please note that you are required to provide a peer grade for all mini-projects to which you have been assigned, even those where no submission can be found. Please use the feedback function above and assign 0s for all elements. Text feedback should also be included, but it can be as simple as “No submission found.”
After the peer feedback cycle, the instructor will collect peer feedback grades and assign “meta-review” feedback to each student. Meta-review feedback refers a grade based on the quality of your commentary. The following rubric will guide assessment of meta-review grades, but the instructor may deviate as appropriate.
Note that the expectations here are a bit asymmetric: students need more detailed feedback on poor work – giving them an opportunity to improve – than on strong work. Here the rough “strong” vs “weak” distinction is qualitative and will be assessed by the instructor independently as part of meta-review grades.
| Score Range | Quality of Feedback | Comments |
|---|---|---|
| 18-20 | Highly-Detailed Accurate Feedback | Recognizes and accurately describes strengths while providing detailed and actionable suggestions for improvement on all weaknesses (both major and minor) in submitted work |
| 15-17 | Middling Accurate Feedback | Comments capture major strengths and weaknesses of submission while providing actionable suggestions for major weaknesses |
| 12-14 | Middling Inaccurate Feedback | Comments overlook one or more minor weaknesses of submission or fail to provide accurate suggestions for improvement |
| 9-11 | Minimal Accurate Feedback | Brief comments giving valid, but superficial advice and/or identifying only major weaknesses |
| 6-8 | Minimal Inaccurate Feedback | Brief comments giving poor advice and/or overlooking significant weaknesses in submitted work |
| 5 | None | No comments given, only scores |
| TBD | Highly-Detailed Inaccurate Feedback | Addressed on a Case-by-Case Basis |
A peer feedback meta-review score will be assigned for all comments given and then averaged to determine the overall meta-review score.
Mini-Project Peer Feedback does not receive an automatic two-day grace period, but no penalty will be assessed if work is submitted before assignment closes on Brightspace (generally 9-12 hours after due date) to allow for small technical challenges.
Students who do not submit their mini-projects by the end of the grace period will not be included in the peer feedback cycle unless special arrangements are made persuant to the course Late Work Policy. This is intended to ensure that only students who completed the assignment are providing peer feedback and to minimize the time wasted by students who are asked to provide feedback on non-existence submissions. As such, students who fail to submit a mini-project on time without an approved excuse will receive a 0 on both portions of the assignment (initial submission and peer feedback.)
Footnotes
As far as I understand Brightspace, I have to set a ‘non-submission’ rule that applies to all work submitted after the deadline. The choices are: i) ignore the missing assignement entirely (and drop it from the grading); or ii) assign an automatic zero. There seems to be no support for grace periods or penalties - if you have seen a better set up in another course, please let me know and I can look into it more deeply. (I don’t want to get rid of the due date entirely as that would prevent students from getting notifications of upcoming deadlines.)↩︎
If you want to debug this and identify which files are missing on GitHub, right click anywhere on the page and open “Developer Tools” or “Inspect” (depending on the browser you are using). Navigate to the “Network” tab and reload the page. You will then see a long list of all of the components that are used to run your site. Look for files marked with
404– the internet code for missing – and make sure that the equivalent file is pushed to GitHub in yourdocsfolder. This is a bit advanced and just runninggit add docs/*at theTerminal(notConsole) adds everything and is easier than hunting down specific files.↩︎One thing that can be a bit confusing: these execution options are written using
quartosyntax, notRsyntax. In particular, these flags are used byquartoand notRsince they control whetherquartoeven runs the code or not: these decisions get made beforeReven starts. Inquarto, we turn things on by setting them totrue(lower case); inR, we set them toTRUE(all caps).↩︎